Create an automated test for the relevancy check task to quickly test and improve your prompt.
You need an administrator or publisher role in your team to create automated tests.
Each automated test is created for a specific LLM task. When you create the automated test, the prompt and configurations of the task are copied into the automated test as default values. The test prompt and settings are independent of your task's prompt and settings: any changes you make in the automated test won't impact your task or usage, and any changes you make to the task or usage won't impact the automated test.
Automated tests require a CSV of initial test cases to generate the LLM task output. Once you've prepared your test cases, you can create the automated test.
Prepare your test cases
You''ll need a CSV of test cases to upload. Each row in the CSV must contain:
- A column with the utterance the chatbot user sent.
- A column with the chat history leading up to that utterance.
If you don't have the chat history, create this column in the CSV but leave it blank for each row. - A column with the bot message the chatbot matched to the utterance.
- A column with the training phrases associated with that bot message.
Each training phrase should be separated by a line break in the CSV.
If you don't have the training phrases available, create this column in the CSV but leave it blank for each row. - A column for any annotations added to the conversation that contains that passage.
If you don't have annotations, create this column in the CSV but leave it blank for each row. - A column for any annotations added to that passage.
If you don't have annotations, create this column in the CSV but leave it blank for each row.
You can also upload result sets from other automated tests or include additional fields. You'll select which columns in your CSV contain the data when you upload, so make sure the first row is your column headings. The CSV can have a maximum of 1000 rows, and a maximum size of 50Mb.
To make the most of your testing, try to include a wide variety of utterances in your test cases and use real utterances and chat histories from your chatbot users if you can. You can build your CSV by downloading:
- Utterances and chat histories from transcript reports.
- Bot messages and their training questions from the passages, logic, and questions CSV in your chatbot's general settings.
Create the automated test
To create an automated test for relevancy checks:
- Click Improve in the left navigation, then click Automated Tests.
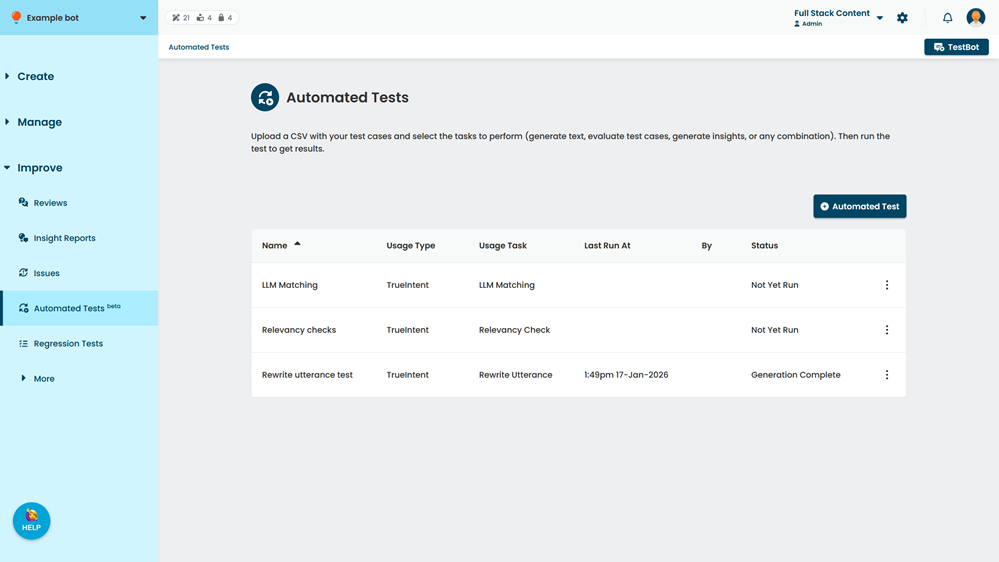
- Click + Automated Test.
- Select the TrueIntent Usage and Relevancy Check Task.
You cannot change the task once the test has been created. - Type a Name for the automated test.
- Click Create.
- In the automated test page, click Upload CSV.
- Select a CSV to upload.
- Select the CSV columns for each of the required fields.
- If your CSV includes relevancy check responses:
- Select I have Step 1 results
- Select the column with the relevancy check response.
You can choose to generate new responses instead when you run a test.
- If your CSV includes additional metadata you'd like to use during evaluation:
- Select Include extra columns for evaluation criteria.
- Select each additional column you'd like to include. See Additional fields.
You can select multiple columns. You'll tell the LLM model how to use these columns later.
- If your CSV includes evaluations:
- Select I have Step 2 results.
- Select the CSV column with the 'PASS' and 'FAIL' evaluations.
You can choose to generate new evaluations instead when you run a test.
- Click Upload & Start at Step 1.
If you've uploaded relevancy check response or evaluations, the test will start at a later step. You can still run the test from an earlier step if you want to. - Click Save.
You can now run automated tests for your relevancy check task.
Additional fields
You can also add columns for:
- Relevancy check responses generated by Step 1 in another automated test.
You can skip Step 1 and evaluate these responses instead. Make sure the responses correspond to the original test cases. - Additional metadata you want to use when evaluating responses in Step 2.
- Evaluations generated by Step 2 in another automated test.
You can skip Steps 1 and 2 and generate insights using these evaluations instead. Make sure all the responses are marked as either "PASS" or "FAIL".