Use Step 2 to quickly grade the output that your LLM task generated in Step 1. You define how to evaluate the output as a success or failure using two prompts in the test configuration, including how to use any metadata you uploaded as additional context.
The output for each test case is marked as either 'pass' or 'fail' using criteria you specify. If the output doesn't meet either criteria, it is left blank for manual review. Once the evaluations have been generated, you can review and edit them in the results pane.
You need an administrator or publisher role in your team to run automated tests.
This step requires LLM task output to evaluate. You can:
- Run your task using Step 1 of the automated test.
- Select a result set with Step 1 (Generate) results.
- Upload a CSV with previously generated output.
Try a sampled test first
Evaluating the results for a large test set can take a while. If you're testing a new connector or new criteria prompts, run sampled tests first to generate a small set of evaluations to check before you run the full evaluation. The default sample size is 20 rows, but you can configure the sample size in the evaluate test cases task.
Generate evaluations
To generate evaluations:
Click Improve in the left navigation, then click Automated Tests.
- Click the automated test you want to use or create a new automated test.
- At the top of the results pane, select the test cases you want to use:
- Select Source to use the data from the uploaded CSV.
The CSV must include Step 1 results. - Select the result set from a previous test to use its generated output.
The test creates a new result set. The original result set won't be changed.
- Select Source to use the data from the uploaded CSV.
- Select Step 2, Evaluate .
Use the left and right arrows next to the step name to switch between steps.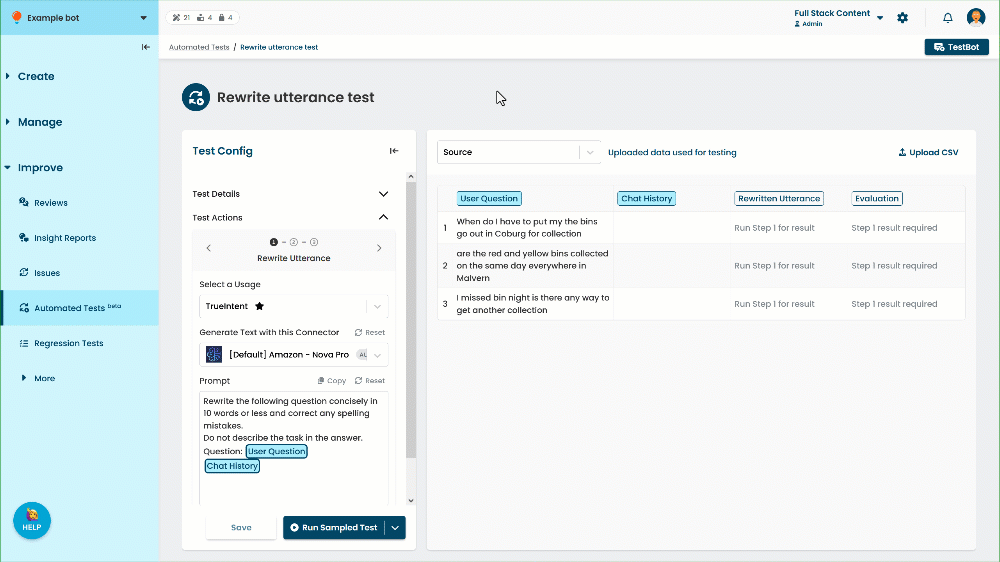
- If you want to run the test using a different connector, select the Connector.
Only connectors in your chatbot that are suitable for the evaluation task are available. - Type your Passed Criteria and Failed Criteria.
Use '@' to add reference chips for additional context when generating the evaluation.
Only the columns highlighted in the source or result set are available as reference chips.
Make sure you have at least one reference chip. - Click Save.
- Either:
- Click Run Sampled Test to quickly test your configuration with a small sample of test cases.
You can configure the sample size in your automated test usage. - Click the arrow next to Run Sample Test, then click Run Full Test to evaluate all test cases.
- Click Run Sampled Test to quickly test your configuration with a small sample of test cases.
Complete the evaluation
The evaluation is stored as a new result set. Any test cases that did not meet your pass or fail criteria will be left blank for you to manually mark. You can also edit any of the evaluations by clicking the tick or cross in the Evaluation column.
Remember to save your changes to the result set. The number of test cases that passed is recalculated after you save.
Once you have evaluated the generated text, run Step 3 to generate insights to improve your task prompt.