A button sends a short text message with one or more buttons the user can press. Buttons can:
- Start another passage or logic.
- Open an external website.
- Open a webview within the chat platform.
- Call a phone number.
- Send an email.
Buttons can also perform actions when a user presses them, such as storing data, scheduling event notifications and running scripts.
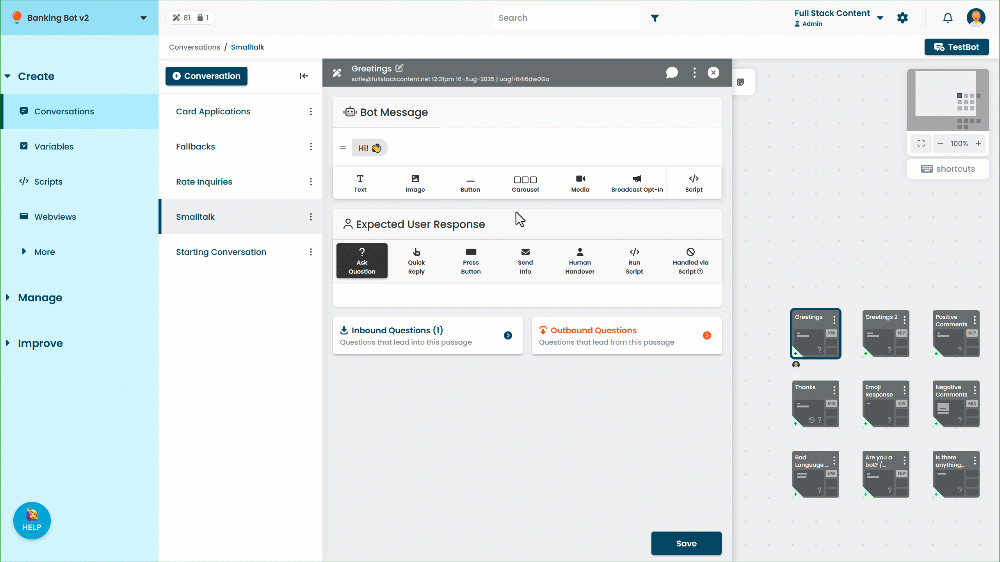
- Click Button to add a button to the passage.
- Click the text in the text bubble or the button to edit the text directly.
A button can have a maximum of 20 characters. - Type @ to add the placeholder chip a variable, constant, or entity.
- Drag the handles on the left to re-order the passage content.
- Click the delete icon next to the button bubble to delete the button message.
- Click the button and click Delete to delete one button from the button message.
Button messages must have at least one button. The Delete option is only displayed if your button message has more than one button.
You can add a maximum of ten buttons to a button message, but some channels may not display more than three buttons. You may see a warning message if:
- You are creating channel-specific content, and you add more buttons than the channel can support.
If your channel is not listed in the channel limits list, check the channel's help documentation to confirm what the channel can support. - You are creating content in the default channel and add more than three buttons.
If you know that all the channels your chatbot uses will support the number of buttons you've added, you can safely ignore this warning.
All message types have a default maximum length. If you use a placeholder chip and the value of the placeholder makes the total length of the message longer than the limit, the message is truncated to the limit. The default length for button titles is 20 characters, and 640 characters for button template text. The following channels use different limits:
- Google Business Messages: 25 characters for button titles, 2000 characters for button template text
- Smooch v2: 128 characters for button titles, 4096 characters for button template text
- Zendesk: 100 characters for button titles, 1000 characters for button template text
- Khoros:
- Google Business Manager subchannel: 3072 characters for button template text
- Subchannels other than Google Business Manager, Meta Messenger, and Brand Messenger: 128 characters for button titles, 4096 characters for button template text.
Configure a button to start a passage or logic
To configure the button to start another passage or logic:
- Click Create in the left navigation, then click Conversations.
- Click the conversation with the passage you want to edit.
- Click the passage you want to edit.
- Click the button, then click Config.
- Select the Start Passage Button Type.
- Select the Conversation that contains the passage or logic you want to start.
- Select the Passage or logic to start, or create a new passage or logic in that conversation.
A preview of the passage is displayed. Disabled passages and logic are shown in red. You can also open the passage or logic in a new tab. - Click Save.
If you select Create New Passage or Create New Logic, the new passage or logic is created with the title of the button label when you save the passage you are editing.
Configure a button to open a website
Buttons can open external websites such as a store page, an external single-page app, or your organisation's webpage.
By default, the website is opened in the chatbot user's browser. If the channel supports it, the webpage can be opened as a webview within the chat window. The following channels that support opening websites in the chat window:
- Meta Messenger
- Sunshine Conversations Messenger channel
- Sunshine Conversations native channels (Web, iOS and Android)
To configure a button to open a website:
- Click Create in the left navigation, then click Conversations.
- Click the conversation with the passage you want to edit.
- Click the passage you want to edit.
- Click the button, then click Config.
- Select the Open Website Button Type.
- Type the Website URL of the website to open.
- If you don't want to track clicks to this web page for analytics, turn off Track Link Clicks.
- If you want to show the website as a webview:
- Select Show as webview within chat window.
- Select the Webview Height the chat platform should use to display the website.
- Click Save.
Configure a button to open a webview
Buttons can open webviews you have created in the inGenious AI platform. These webviews can streamline actions that might be tedious or difficult to manage via text alone, such as choosing an appointment time. The webview is opened within the chat platform the user is using.
You must have created the webview in the inGenious AI platform to configure a button to open it. For more information on creating webviews, see Create a webview.
To configure a button to open a webview:
- Click Create in the left navigation, then click Conversations.
- Click the conversation with the passage you want to edit.
- Click the passage you want to edit.
- Click the button, then click Config.
- Select the Open Webview Button Type.
- Select the Conversation and the Passage to start after the user has finished viewing the webview.
- Select the Webview Height the chat platform should use to display the webview.
- Click Save.
Configure a button to call a phone number
You can configure a button to call a phone number from the chatbot user's device. The chatbot user's device will switch away from the app they're using to chat with your chatbot and into their phone app to make the call.
If a button is configured to call a phone number, the chatbot isn't notified when the chatbot user clicks that button, so it can't trigger any events on that button.
To configure the button to call a phone number:
- Click Create in the left navigation, then click Conversations.
- Click the conversation with the passage you want to edit.
- Click the passage you want to edit.
- Click the button, then click Config.
- Select the Call Phone Number Button Type.
- Select the Country Code.
- Type the Phone number you want to call.
Do not include spaces in the phone number. - Click Save.
Configure a button to send an email
The send an email option is supported in the following channels:
- Smooch v2
- Zendesk Chat
- Khoros (Smooch 1 and Brand Messenger v2)
To configure a button to open the chatbot user's default email application to send an email:
- Click Create in the left navigation, then click Conversations.
- Click the conversation with the passage you want to edit.
- Click the passage you want to edit.
- Click the button, then click Config.
- Select the Send Email Button Type.
- Type the email address you want to send the email to in the To field.
If you want to send the email to multiple recipients, separate each address with a comma. - If you want to add carbon-copy (Cc) or blind-carbon-copy (Bcc) recipients, click the Cc Bcc button.
These email addresses will be visible to users when they send the email. - If you'd like to pre-fill a subject line for the email, type it in the Subject field.
Users can edit this before they send the email. - If you'd like to pre-fill suggested content for the email, type it in the Message field.
Users can edit this before they send the email. - Click Save.