You can create groups to help manage your chatbot's constants, entities, variables, notifications, webviews, and scripts. Groups help keep things tidy for your chatbot content creators, but they don't have any impact on the chatbot content itself.
When content items are grouped, you'll see each group with the number of items it contains. Groups are listed alphabetically and can be collapsed to hide their items. Each content item can belong to only one group.
You can create, rename, or delete groups at any time, add items when you're creating them, or assign them individually or in bulk afterwards. Content groups aren't versioned, so any changes take effect immediately.
Some content groups, such as those for LLM Connectors and LLM Usages, can't be added to or edited. If you don't see the group folder icon at the top of the list, the groups in that list can't be edited.
Create a group
To create a new group:
- Click Create in the left navigation, then click the content type you want to work with.
For example, Variables.
You may need to expand the More section in the left navigation for some content types. - Click the folder icon at the top of the content list.
- Type a Name for the group.
- Select the items you want to add to this group.
You can select multiple items. Items can only belong to one group. - Click Create.
Rename a group
To rename a group:
- Click Create in the left navigation, then click the content type you want to work with.
For example, Variables.
You may need to expand the More section in the left navigation for some content types. -
Click the menu next to the group you want to rename.
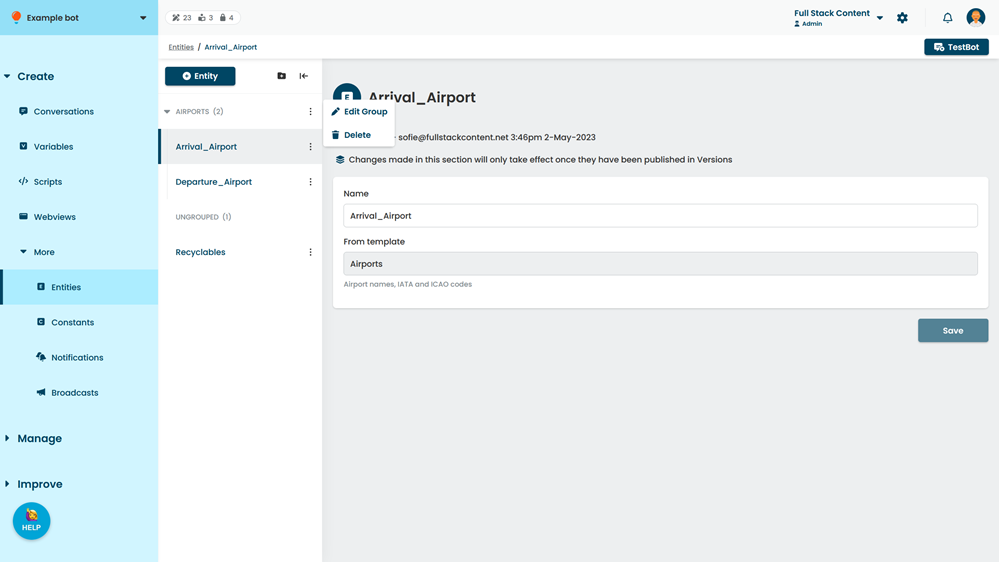
- Click Edit group.
- Type a new Name for the group.
- Click Update.
Delete a group
Deleting a group does not delete the items it contains. When you delete a group, all items are assigned back to the 'ungrouped' group. Deleted groups can't be undeleted.
To delete a group:
- Click Create in the left navigation, then click the content type you want to work with.
For example, Variables.
You may need to expand the More section in the left navigation for some content types. -
Click the menu next to the group you want to delete.
- Click Delete.
Assign or remove items individually
To assign or remove items from a group:
- Click Create in the left navigation, then click the content type you want to work with.
For example, Variables.
You may need to expand the More section in the left navigation for some content types. -
Click the menu next to the item you want to move.
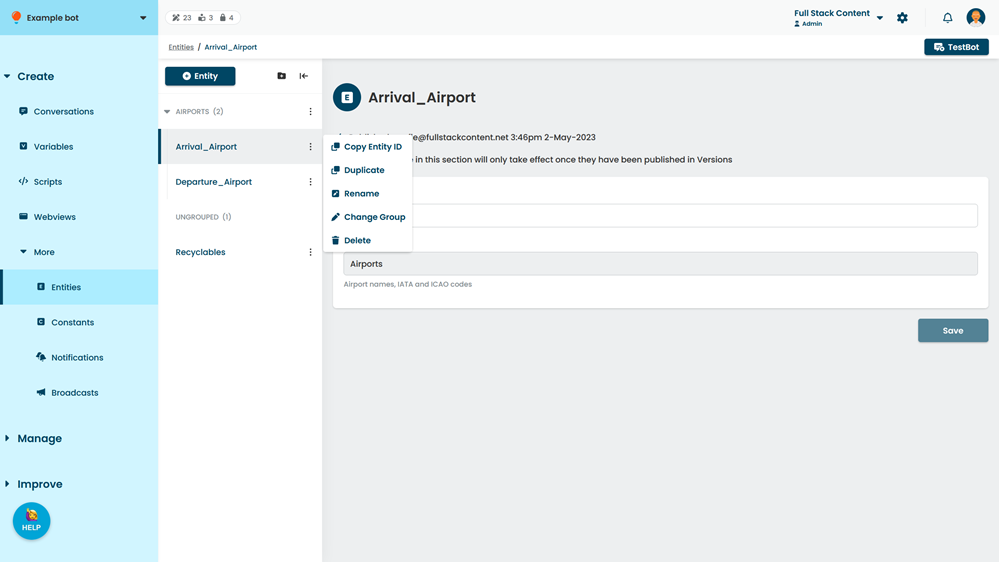
- Click Change group.
- Select the group to move the item to.
Select Ungrouped to assign this item to no group. - Click Update.
Assign or remove items in bulk
To assign or remove items in bulk:
- Click Create in the left navigation, then click the content type you want to work with.
For example, Variables.
You may need to expand the More section in the left navigation for some content types. - Click the menu next to the group you want to assign or remove items from.
- Click Edit group.
- Update the list of items in the group.
Each item can belong to only one group. - Click Update.