An entity is a placeholder that you can use to personalise your chatbot content without creating extra passages.
Entities are designed to capture important words from your chatbot user's questions so you can use those words in the responding passage. Each entity is created to capture a specific type of information, like the product name or city your user mentioned.
There are a lot of cities in the world. Your NLP provider may have predefined entities you can add to your chatbot as templates. Using an entity template means you don't need to list every term yourself, but you won't be able to see a list of the terms included in the template. When you use a template entity, you should always check the conversation carefully with Testbot before you publish.
We'll create two entities: one for the departure city, and then a duplicate entity for the arrival city.
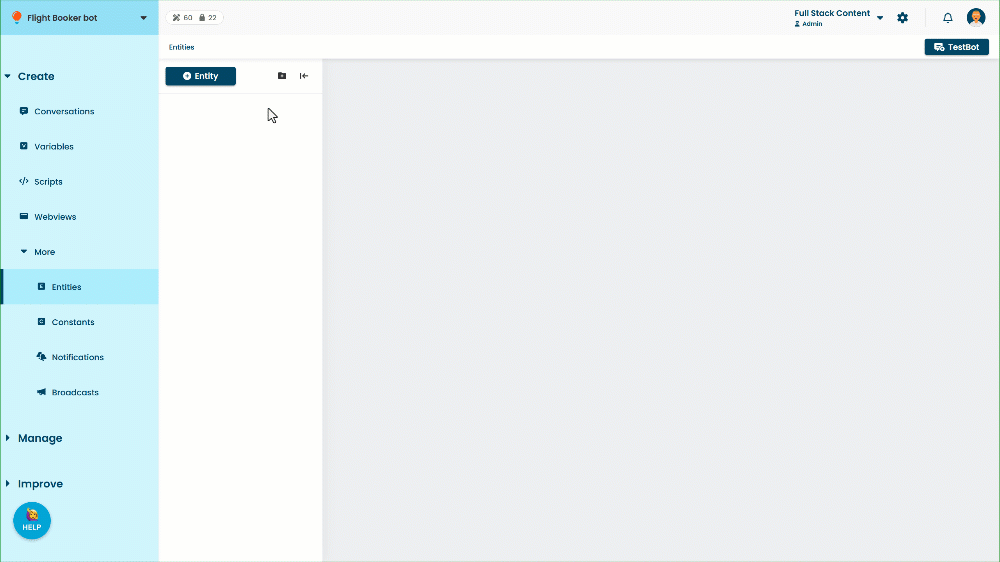
Create an entity for the departure city
Let's create our first entity:
- Click Create > More in the left navigation, then click Entities.
- Click + Entity.
- Select From template.
- In the dropdown, select the Geocity template.
You may see different options depending on your NLP provider. Choose a template that provides a list of cities by name. - Type DepartureCity as the name for your entity.
We're specifying that it's the departure city, not just a city. We'll look at why we're doing that in a moment. - Click Create.
Duplicate the entity for the arrival city
Using an entity twice
An entity is designed to capture a specific piece of information, such as a city name. But in our example, when our user is booking a flight, they'll be talking about two cities, and we need to capture both.
We can't use one entity to capture two pieces of information from a question: it's like trying to put two keys in the same lock at the same time. So we will create two entities that each capture city names: one for the departure city, and one for the arrival city.

Let's create our second entity. We could create another entity from the same template, but it's faster to make a copy of the first one and change the entity name:
- Click Create > More in the left navigation, then click Entities.
- Click the menu next to the DepartureCity entity.
- Click Duplicate.
Duplicate entities are separate from each other: any changes you make to one are not applied to the other. -
Click the menu next to the DepartureCity (1) entity.
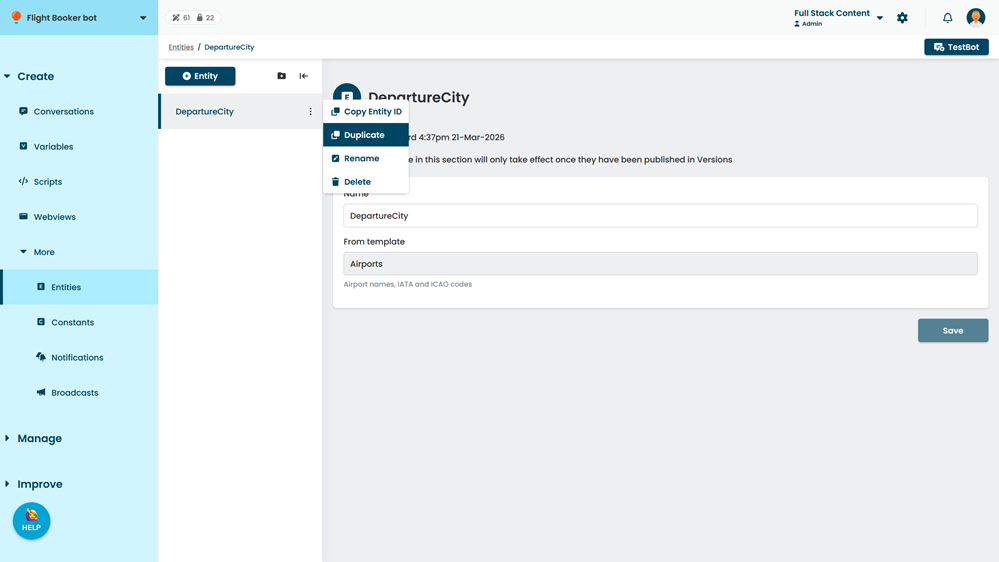
- Click Rename.
- Type ArrivalCity as the new name.
You can use letters, numbers, spaces, and punctuation in your entity names, such as Arrival City, or Arrival City #2. - Click Rename.
We've created two entities to capture the two cities our chatbot user wants to fly between. Now let's create the passage where we'll respond to the chatbot user's question about flight bookings.